Nature Photography
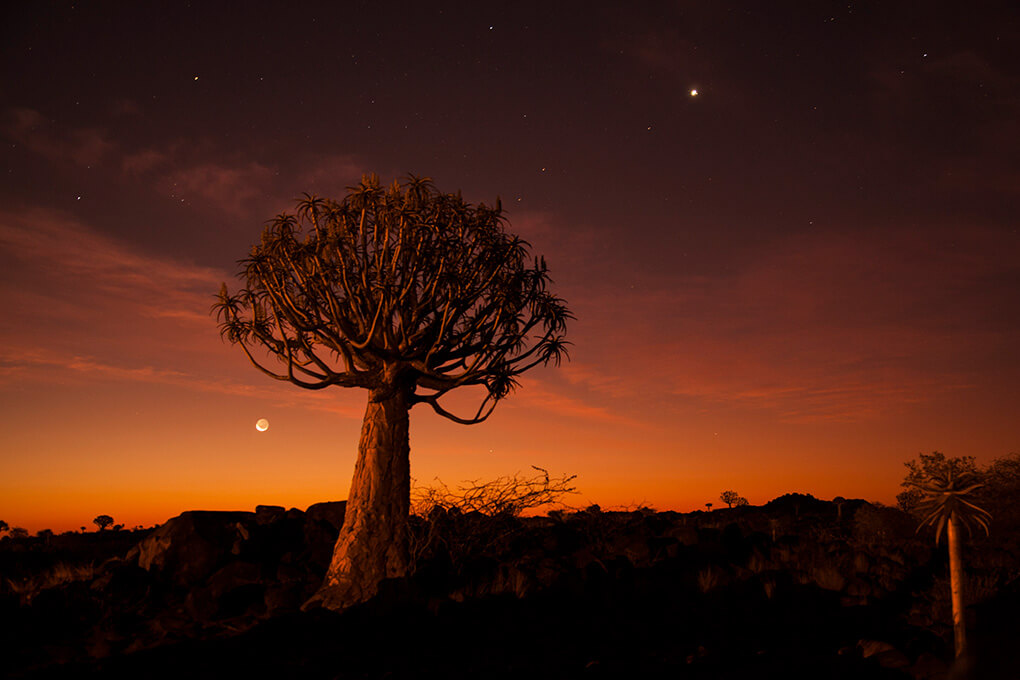
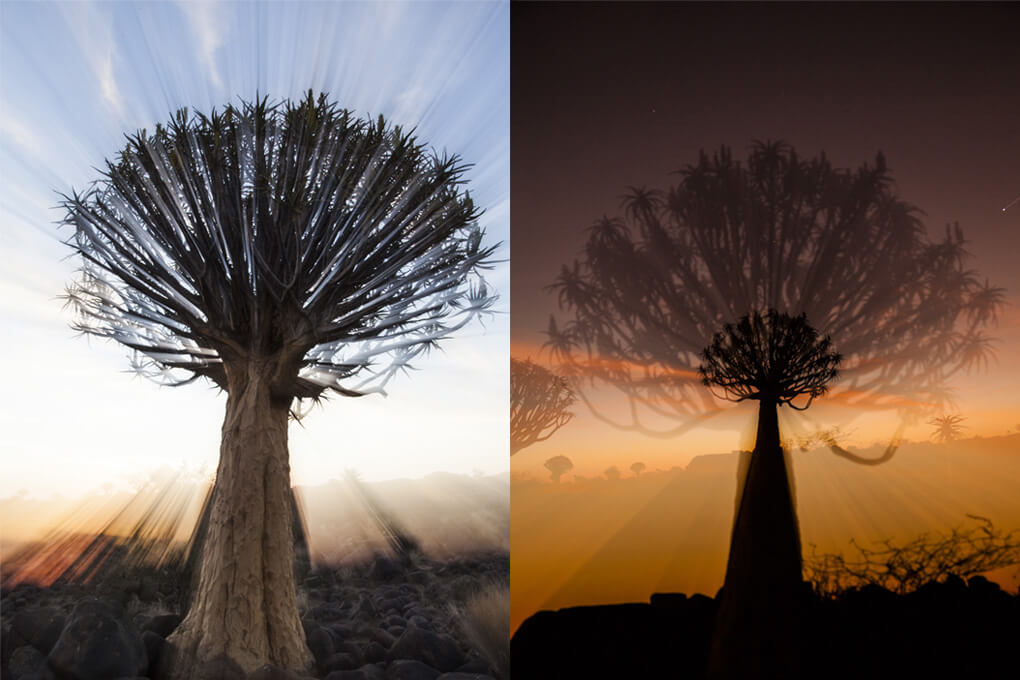
Sunset
After my recent trip to Namibie I realized -My strength is getting into a real situation and making a photograph of it … In all my photographs I strive for authenticity, whether it’s exploration in the magazine or a photograph for a client, I want the picture to be as real as possible.
I don’t rely on Photoshop for all my effects; I get out there and have fun the traditional way with the five filters that every photographer should own.
Skylight filter
A skylight or ultraviolet filter is mainly used to protect the front of your lens from potential damage, and prevent you getting dirt, dust or water on the front element of the lens.
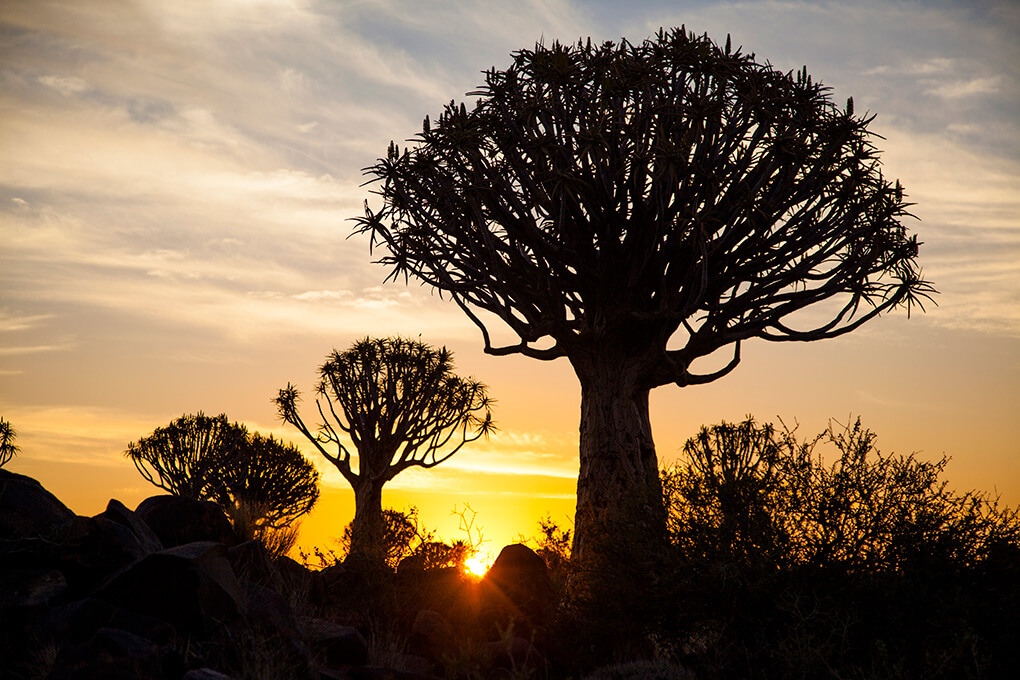
Polarising filter
The filter will also increase the colour saturation, and darken blue skies, giving greater contrast between any sky and clouds.
This isn’t always immediately obvious, especially through the viewfinder, so you might need to rotate the filter more than once to judge the best orientation for the effect that you want.
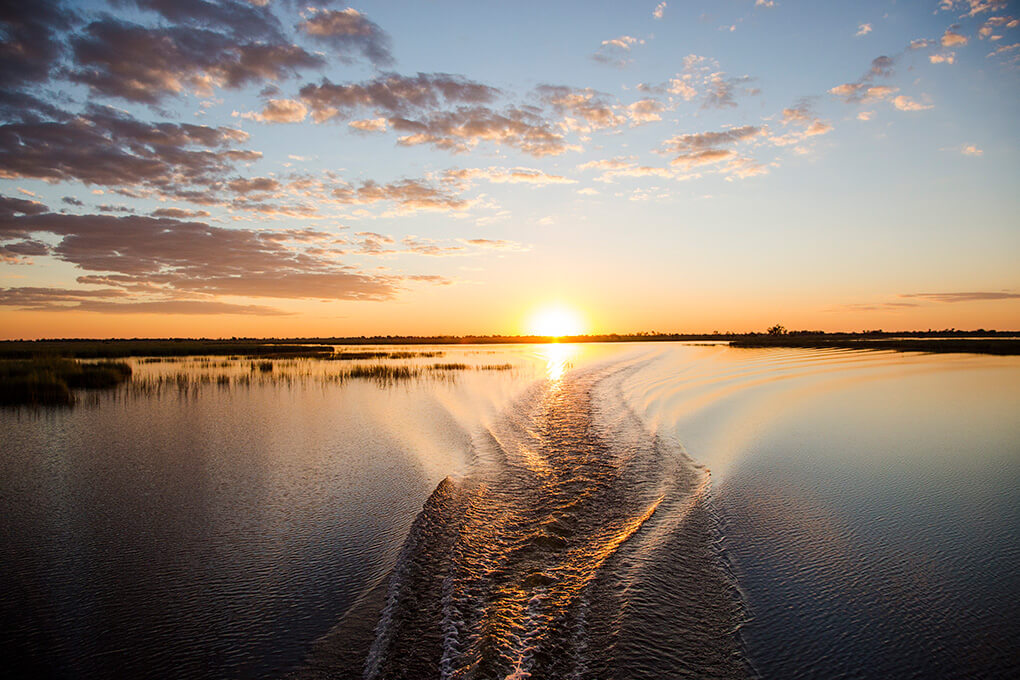
Neutral density filters
A straight neutral density, or ND, filter is essentially a ‘darkened’ sheet of glass or resin that reduces the amount if light entering a lens, and therefore reaching the sensor.
Allowing you to use longer shutter speeds or wider apertures than would otherwise be available in the prevailing lighting conditions.
NDs come in different strengths or densities, most commonly reducing the light by one to three stops.
Graduated neutral density filters
Balancing the exposure between a bright sky and a darker foreground, particularly in landscapes and sunrise/sunset shots.
There are two main types of transition between the dark and clear areas: hard or soft. Hard grads go from clear to dark very suddenly, so are best for subjects with a clear, uncluttered horizon, such as seascapes.
Soft grads feature a much more gradual change from clear to dark, and are suitable for landscapes where there are trees, mountains or buildings above the horizon.
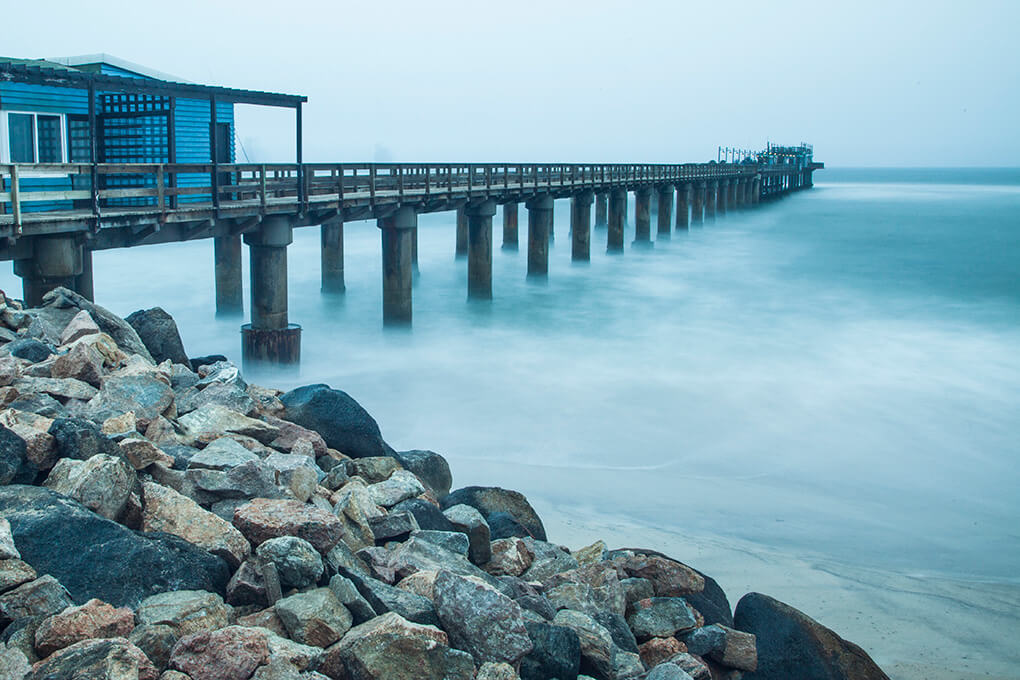
Variable or strong neutral density filters
Is used for extremely long shutter speeds or very shallow depth-of-field effects in bright conditions.
While the effect of using a variable ND filter at the higher strengths are the same as using a strong plain ND filter, you use them in slightly different ways.
With a variable ND filter, you can attach the filter before you frame the shot, focus and set the exposure.
This is because you can adjust the filter to its lowest strength to start with, allowing you to see clearly through the viewfinder to focus and compose your shot.
Once you have set-up the camera you can then adjust the filter to a higher strength before you take a shot.
A very strong ND filter, by contrast, is so dark that it’s almost impossible to see through once it’s in place, so you will need to set the camera up before attaching the filter.
With either type of filter you will need to set the camera to manual exposure and manual focus, and if you are using long shutter speeds, you will also need to fix the camera to a tripod to avoid camera shake.